


Here’s How To Re-Clean Your Gas Burner In 1 Minute!
Phasellus tellus tellus, imperdiet ut imperdiet eu, iaculis a sem Donec vehicula luctus nunc in laoreet

Removing the dirt from your cooking stove burner isn’t difficult but very difficult and perhaps exhausting. With time, water and other things that find their way out of our pots get into all stove burner corners such that it becomes unsightly and very discouraging to use for cooking. You’re researching new and simpler means of getting your cooking stove burner and fortunate enough, you stumbled upon this article.
We’re going to ease you out of this agony and reveal a better method for getting your burner sparkling like new.
Can homemade items and cleaning agents truly make my stove burner spotless?
Any good kitchen article would be incomplete if it didn’t have some useful cleaning tips. Greasy and dirty stoves and marked-up pots look aged and even affect the taste of food. That’d be a bummer. But, more often than not, we just clean our kitchen things superficially, nothing too intense to maintain the shine on our kitchen for as long as possible. These hints which we are giving will not only make cleaning simpler but to yield improved results. Let’s discover on the following page.

Cleaning Stove Burners The Right Way Protects You and Your Kitchen
By using this technique, maintaining your pots and stove burner clean is never simpler and this is what makes it so crucial because we can’t allow dirt to fight us on our watch. If you don’t know why a clean stove burner is so crucial, here’s a quick explanation to guide you on this.
Once the dirt accumulates, it is likely to clog up the vents through which the gas escapes and none of us want gas to cause havoc-producing explosions. In order to prevent all such issues, it is advisable to see that all equipment that runs on gas is working optimally. To adhere to the following steps wisely at least monthly will keep you on a safe page.
Here’s a list of things you’ll be needing:
Non-abrasive sponge
Detergent
Bicarbonate of sodium
Napkins for cleaning
A worn-out toothbrush
Paper clip
There are detailed instructions on what to do with every item on the list on the next page.
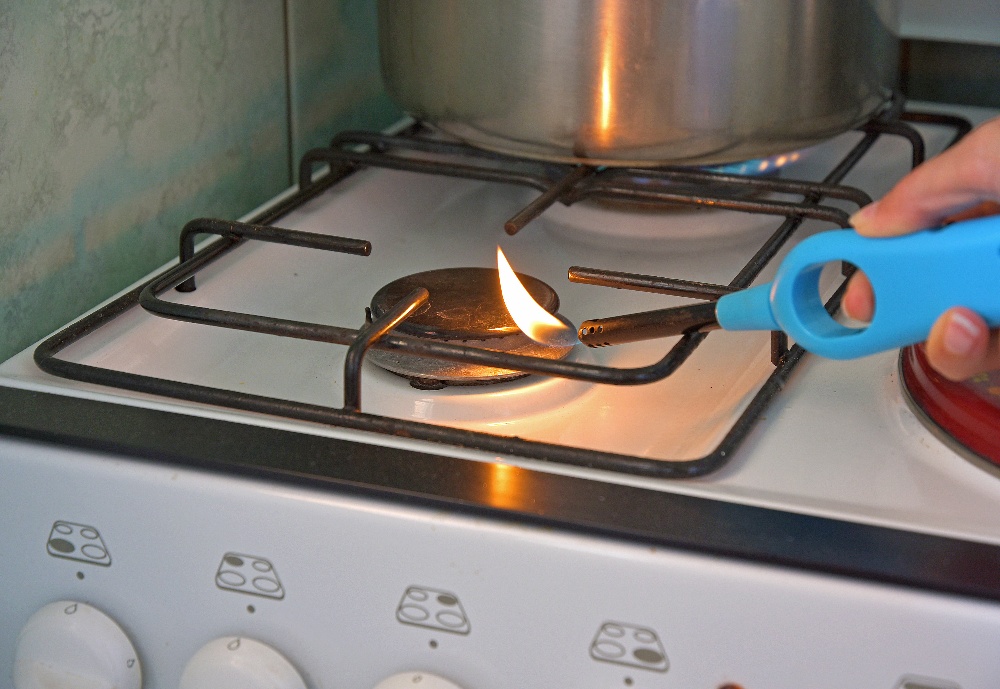
Step One: Cleaning the lips and lids
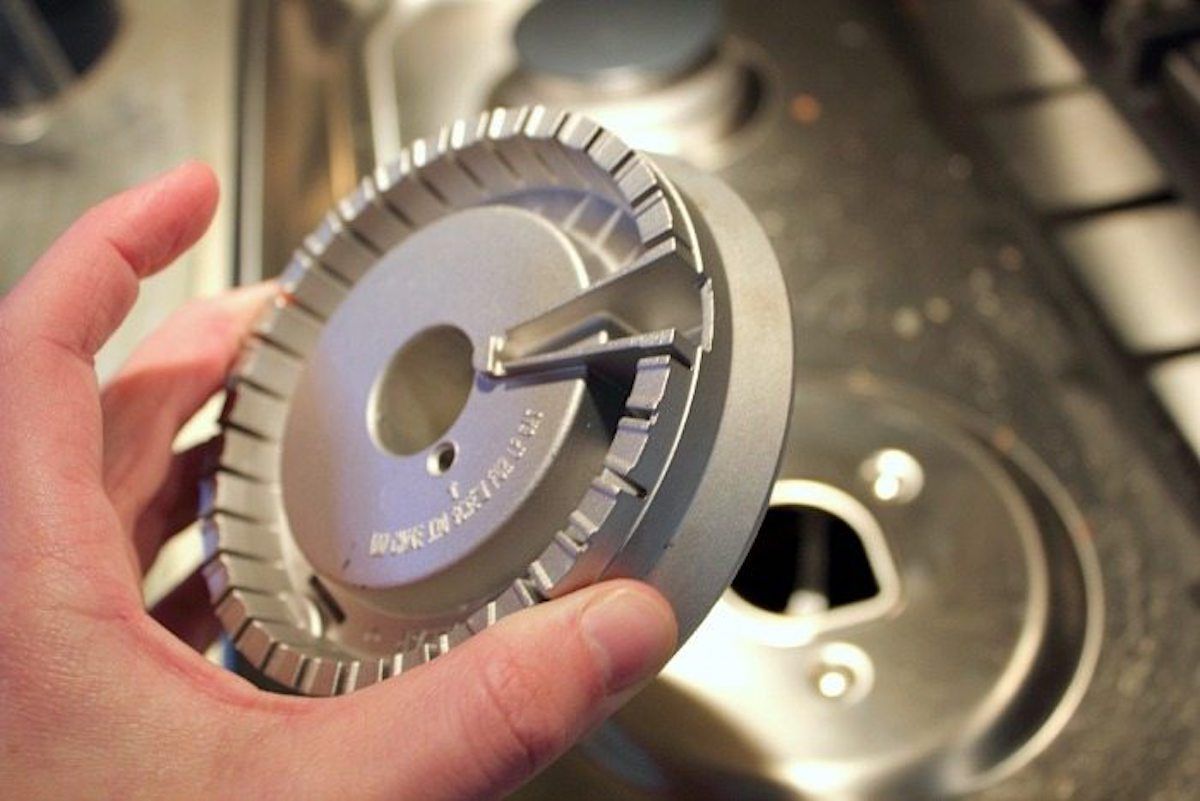
If you are working with a gas stove, you have to shut off the gas valve prior. Be sure to do so to prevent an explosion. Spreader caps are present on the lid that distribute the flames. Diffusers or bases are situated under these covers (spreaders). Take the spreaders and diffusers vertically and remove them carefully.
Soak the two pieces i.e the diffusers and spreaders for 30 minutes in a dish of hot baking soda water. Next, use the non-abrasive sponge to clean the diffusion and spreaders. You can now use a toothbrush dipped in a warm soapy water mixture to touch deep and narrow corners.
Another trick to unclog the gas holes is to employ the tip of a paperclip. To create a straight edge, bend the clip. This should be enough to remove the hard dirt out of the corners. Nevertheless, in the event that you use an electric burner, there are other things that you have to do and we’ve outlined them for you.
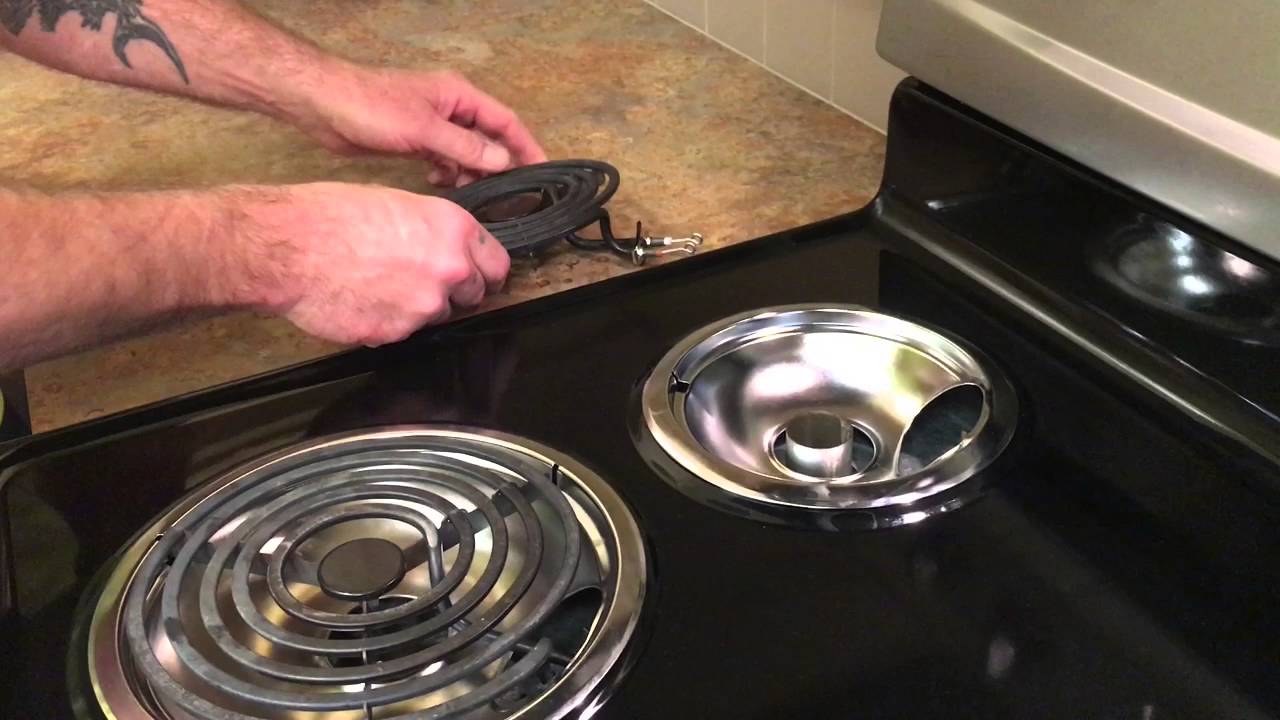
Step 2: the best way to Clean Electric Burners Without Damage
To clean electric diffusers, you’ll need the following items:
Detergent
Non-abrasive sponge
microfiber cloth with sodium bicarbonate
Cloths for cleaning
Instructions for use
Turn on the burner for a few minutes to burn off food residue if the heaters and lids are full of grime. Wash the covers in warm, soapy water and soak them in a combination of 2 parts. First baking soda and secondly pure water and wait 15 minutes.
Wipe the heating elements with a damp cloth while the covers dry to remove dirt and stains. Rinse off any residue of baking soda on the lids and wash the components with soap and water.
Lastly, wipe with a soft cloth to finish. When the pieces have cooled, repair them
It’s now time for the last step. Find out the easiest and most protective way to clean the top of the stove on the next page.
Best way to clean the stove’s top
Another safety measure you ought to have at the back of your mind is when you are using the gas stove, you have to be careful not to get the lighters wet.
In order to soften and remove the residue from the topmost layer, wipe with a damp cloth. To complete the removal of the grime, use a sponge and soap, then another towel. You can continue at it until the surface is clean enough. Some stains, though, may be so dry and stubborn to remove. For such, you can utilize the baking soda mixture outlined in ‘Step 2’ to scrub away more obstinate grime. Apply the mixture to the affected areas and let sit for 15 minutes.

Cleaning your stove should never be a problem, whether it’s gas or electric. Paying extra for the service, buying expensive products and spending too much time cleaning your stove burner can always be avoided. Follow everything laid out in this post and you’ll never have to worry about cleaning your stove again!


Related Articles

A kind vet saved an abandoned horse — what followed will surprise you!
Import demos, pages or elements separately with a click as needed. Single...

Huge cities were discovered at the bottom of the ocean
One of the most well-known lost cities in history is the ancient and ruined city of Atlantis. Although scientists have not yet managed to learn whether or not this city actually existed, there are already hundreds of other cities yet to be found. Some of them are worth a...

A Woman Found A Tied Dog In The Forest – It Had Some Kind Of Number On It….
A long time ago, once upon a time, a nature walker strolled through the woods and found something unusual: A dog is tied up against a tree, but there...

An old man’s neighbor keeps blocking his driveway. He decides not to let it go and teaches her a lesson!
The majority of neighbors treat each other’s property with respect. It is considered rude to trespass on another person’s lawn. However, one neighbor in Osceola, Florida, took...
Leave a comment